
Peaceful Nursery Mural: Painting & Process
You've already seen the glittering and beautiful "After" photos of this nursery. I love them so much that I couldn't withhold them - they had to be the first post! But this is an artist's website… I'm not a photographer. Let's talk about that mural! Who, what, when, where, why, how...
I can't believe I've been sitting on these images for so long. This was a BIG project for me over the summer. It became much more complicated and time-consuming than expected, and I had a moving deadline, so I was working at least 12-hour days at my client's home. (They must have thought I was such a weirdo.) Since I often wrapped up at night, a lot of my photos have strange lighting, and color was hard to capture… so please forgive the poor photography.
Well, now that I've got you REALLY excited… may I present the makeover of this very special nursery!

My client was starting from a real mess… dark wood paneled walls, little light, and a temporary storage space for family hand-me-downs/clutter.
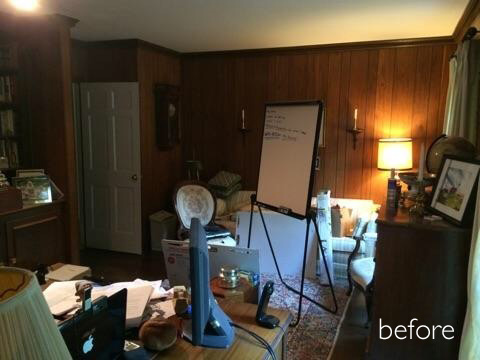
Luckily, they had a vision. They began by clearing the room - no small feat!

They'd seen a beautiful nursery on theprettyblog.com and loved the wallpaper… to an extent. My client wanted a neutral nursery - no pink. We tried to research the wallpaper in the blog post, but it wasn't cited, and we couldn't find it anywhere else. So, we decided that I would just paint it myself from scratch!

My client and I pored over paint swatches and selected a nice neutral to cover the room. Since the walls were originally wood paneling, they would have made a horrible surface for a detailed mural…
Enter Steven Blanchard: he painted the room in our soft neutral color and filled in the cracks on one wall to make a nice, smooth surface for me. He also painted the baseboard and crown moulding a bright, clean white. (He was fantastic to work with - I highly recommend him to anyone in the Louisville area!)


Next, I tested lots and lots of paint samples to find the perfect neutral metallic for the room. As you can imagine, metallics are tricky, and look different in different spaces, at different times of day, etc. Here you can see just one test, where I was diluting some gold with the brown I was using in the branches. I ended up using champagne instead of gold but you get the idea!

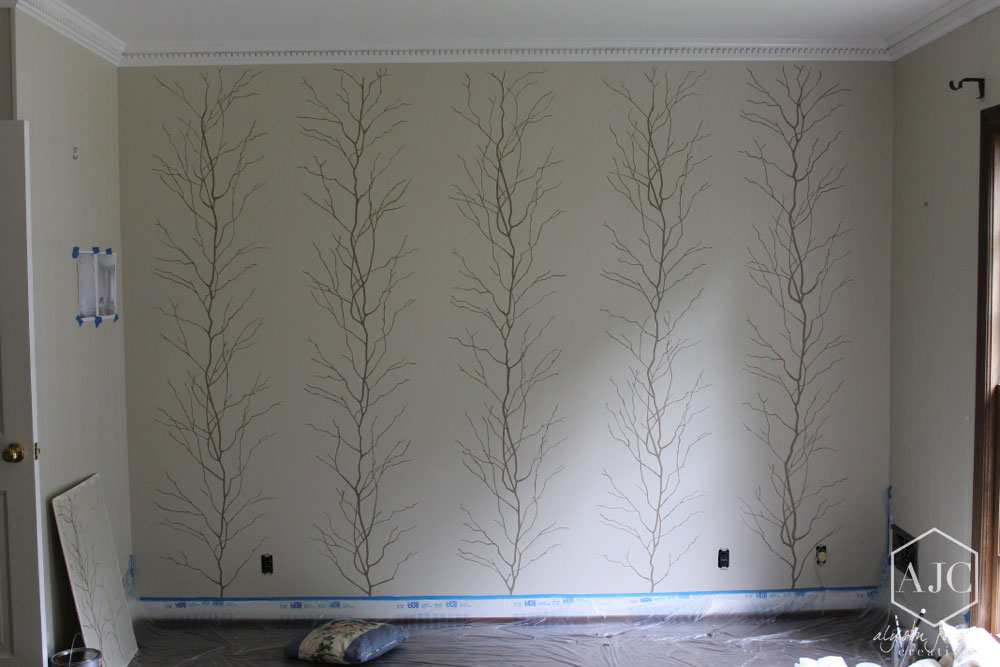
After testing my paint and creating the perfect shades, I started by free handing the dark brown branches.

I had planned to freehand the entire mural because I freehanded the pink floral mural, which was totally awesome. However, I didn't account for the fact that this new mural had a much more precise style. I finished half of one brown branch in one day.
!!! I'll repeat… I finished half of one brown branch in one day.
There are five brown branches, four and two halves of the metallic branches, and then blossoms. So that meant I was… 1/22 done? And I had allotted myself four days for this? Nuh-uh. Something had to change. So I finagled a pattern for myself:

This was messy and complicated but it got the job done. With pencil lines in place, I was able to bust through the brown branches much faster:
Then I came in between with metallic branches. These are meant to be very subtle - you only notice them when the light catches them just right.

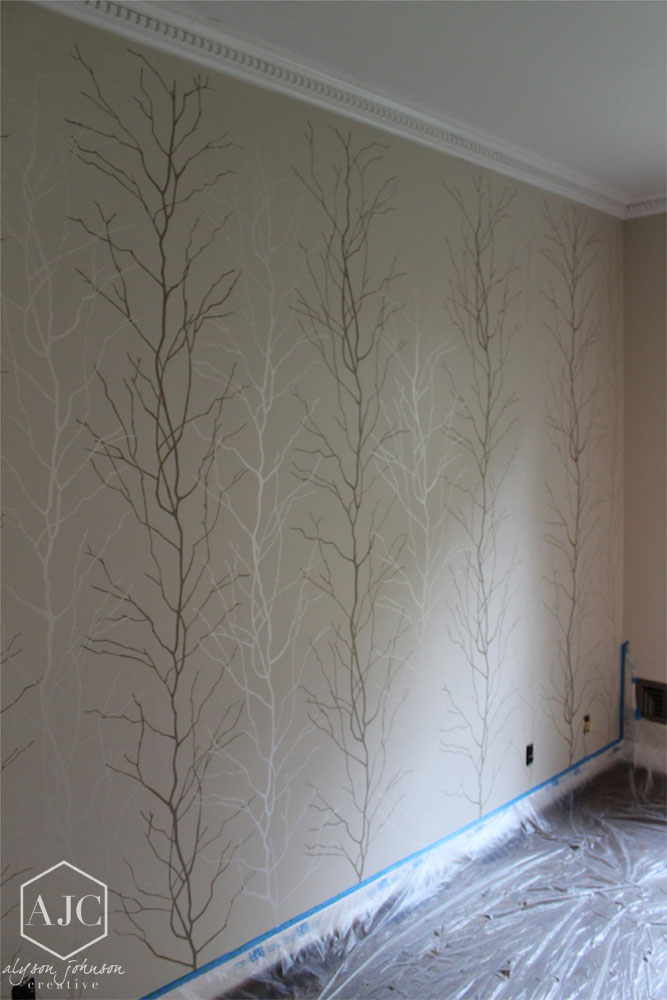
Finally, I added little white and tan blossoms to the brown branches. So sweet!


Love that soft metallic sheen:

Here's the future grandma holding up the new bedding against the mural-in-progress:
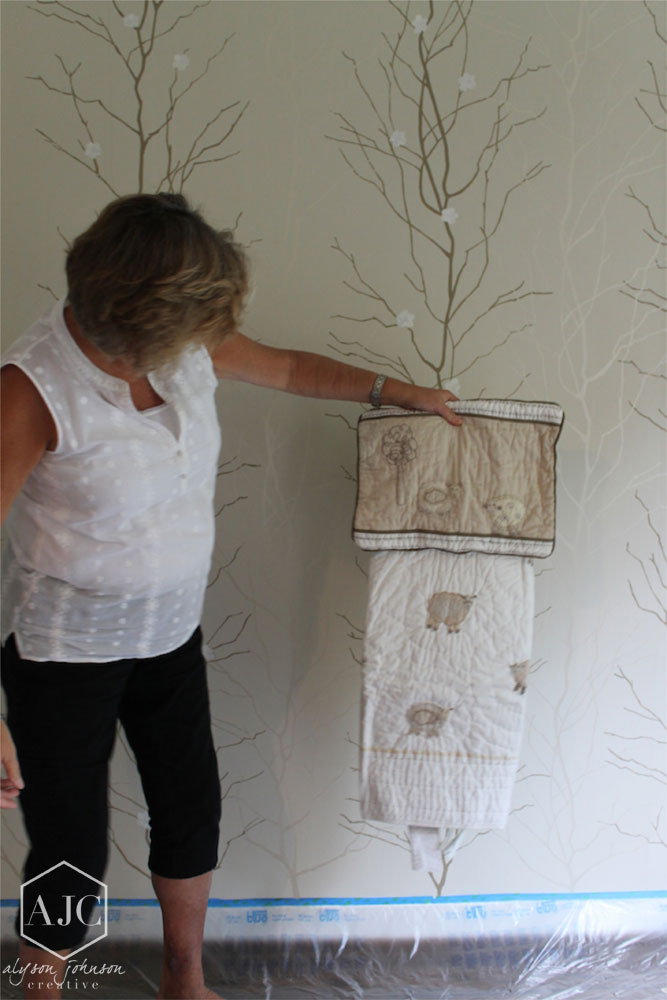
We were getting so excited!!
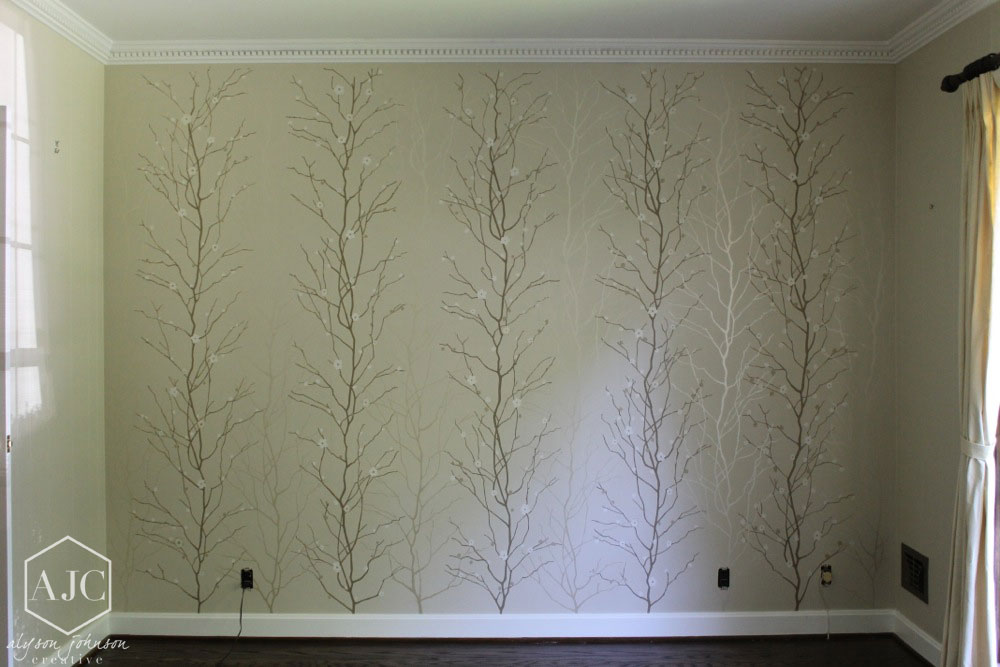
Here is the nursery as I left it that summer:

Along with a little purse-sized sample board with her paint colors on it, so she could take it to stores and match it to any new baby things she might need to buy. :)

And a fun little before-and-after to remind us of how far we've come!
